|
|
Instructions for Special Cases
Please click on the links below for more detailed instructions if your nails have the following conditions:
One or both corners of your nail is curved at a right angle.

Your nail is very curved and the clips are difficult to attach.
Your nail is too round.

Your nail is too short.
Your nail is cracked.
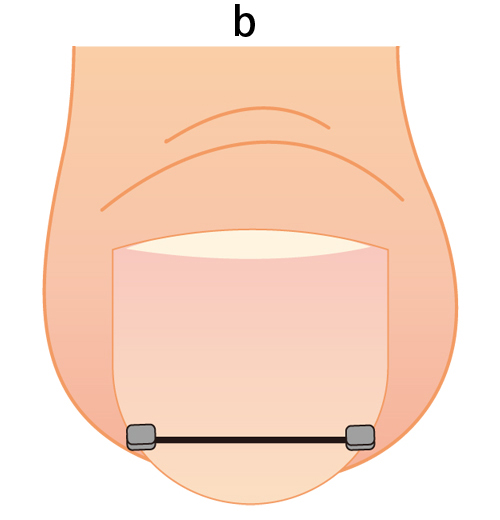
What to Do If Your Nail Curves Down at a Right Angle
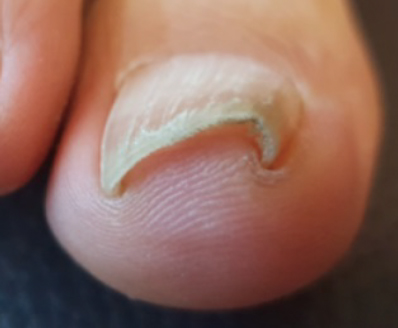
Generally, clients use all four clips to affix the NailLift brace to the toenail.
Toenails with more pronounced curves on either the right or left edge of the nail can usually benefit from only three clips. However, in cases like this photo where the nail curves down at a right angle, we recommend using all four clips.
The most important step is to slide the clips on as close as possible to the right and left edges of the nail, no matter how many clips you use.
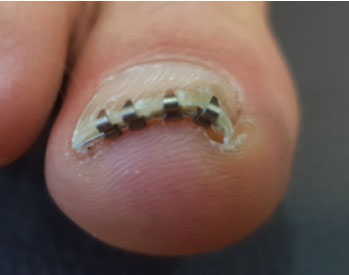
In this photo taken immediately after affixing the NailLift brace, you can see the first clip from the right sits very close to the apex of the curved angle on the nail.
This set-up can correct the curve, but it can also be improved.
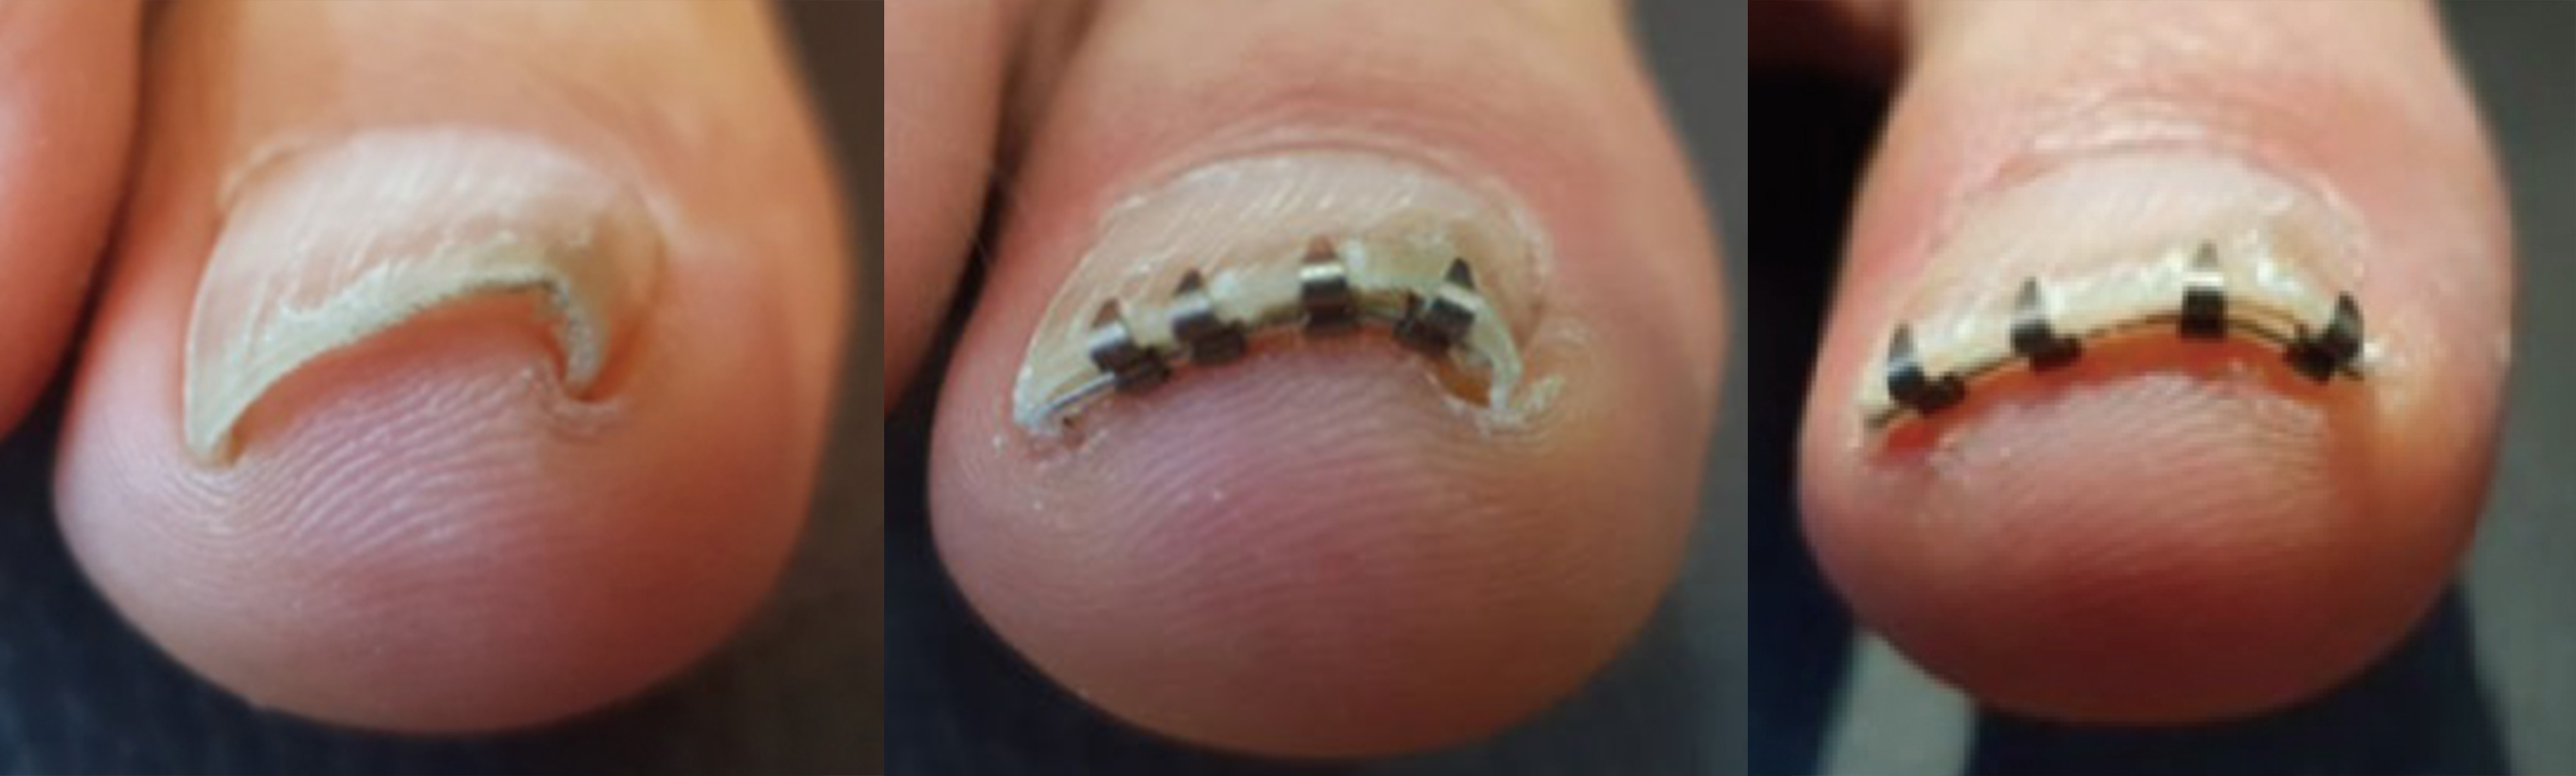
In this next photo, the brace was reapplied so the two outer-most clips sit much closer to the right and left edges of the nail bed. You can clearly see how the resulting curve is even further corrected.
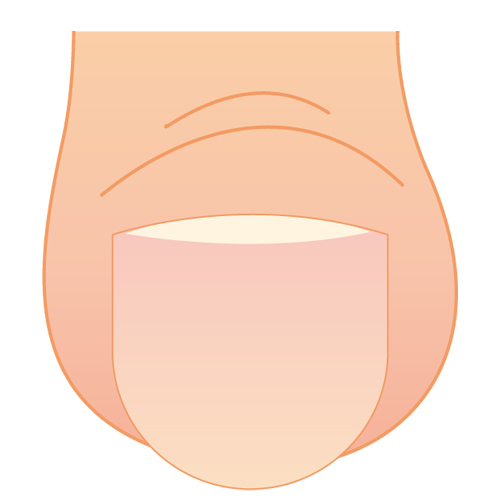
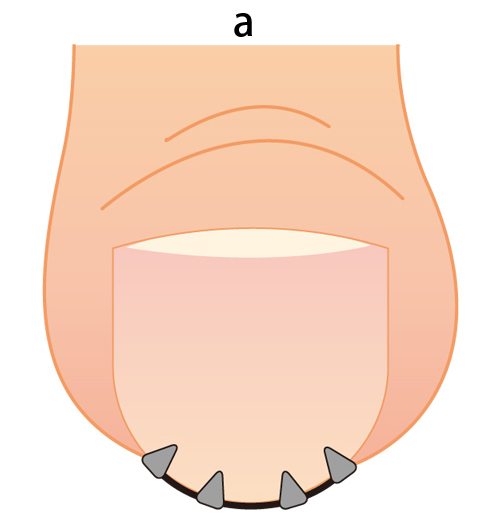
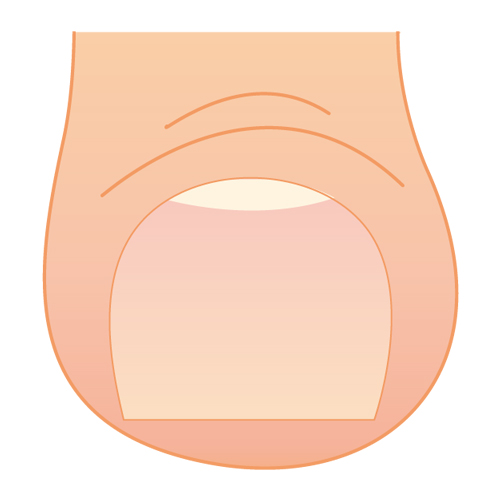
What to Do If Your Nail Curves Inwardly on Both Sides
For nails like the one in this illustration, it can be easier to affix the NailLift on top of the nail instead of underneath it.
Flip the brace upside down and lay the wire on top of the nail. Then, slide the clips on one by one. Start from either the left or right edge of the nail and work to the other side.
*Please note: Braces affixed to the top of the nail can snag on clothing or shoes and may come off more easily. If this happens, wrap bandage tape over the brace to secure it in place.
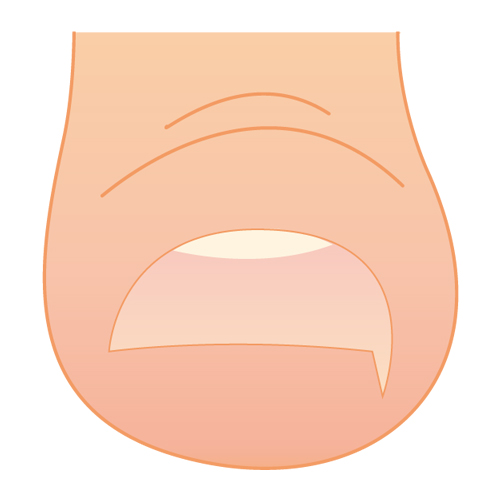
What to Do If Your Nail is Too Round
While it is possible to affix the NailLift to rounded nails, the clips may come off more easily depending on how round the tip of the nail is.
In this situation, we recommend removing two clips from the brace and lay the wire on top of the nail. Then, slide the remaining two clips as close to the right and left edges of the nail as possible and secure them in place.
*Please note: when the NailLift brace rests on top of the nail, it may snag on clothing or come off more easily during everyday activities. We recommend applying at least a 5-mm wide band of gel pedicure or super glue over the NailLift. The polish or glue can also be applied over the entire nail. Snagging and loosening can also be prevented by wrapping bandage tape around the toe to secure NailLift.
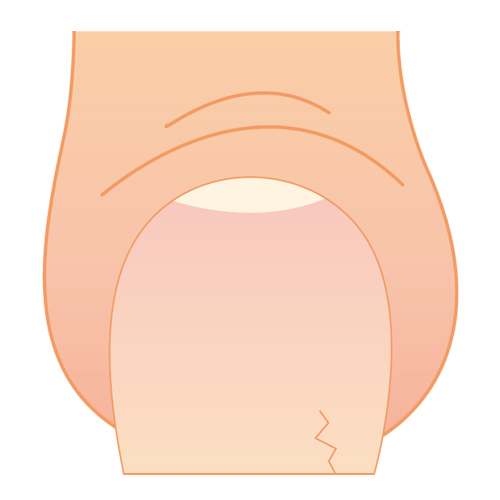
What to Do If Your Nail is Too Short
The NailLift brace can cause discomfort if used when the white nail tip is too short. However, as long as the nail tip is at least 1 mm long, you can lay the brace on top of the nail and snap the clips on from top to bottom.
Instruction video for short nails is here.
*Please note: when the NailLift brace rests on top of the nail, it may snag on clothing or come off more easily during everyday activities. We recommend applying at least a 5-mm wide band of gel pedicure or super glue over the NailLift. The polish or glue can also be applied over the entire nail. Snagging and loosening can also be prevented by wrapping bandage tape around the toe to secure NailLift.
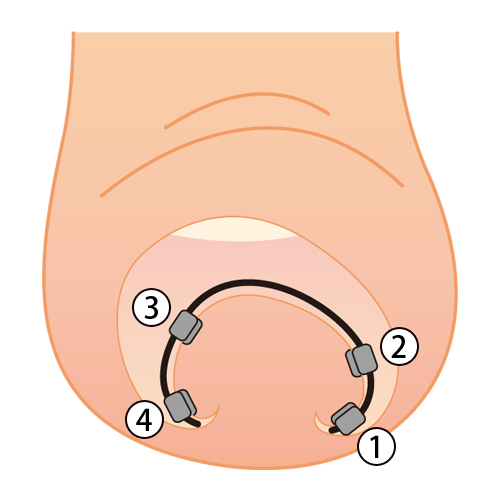
What to Do If Your Nail is Cracked
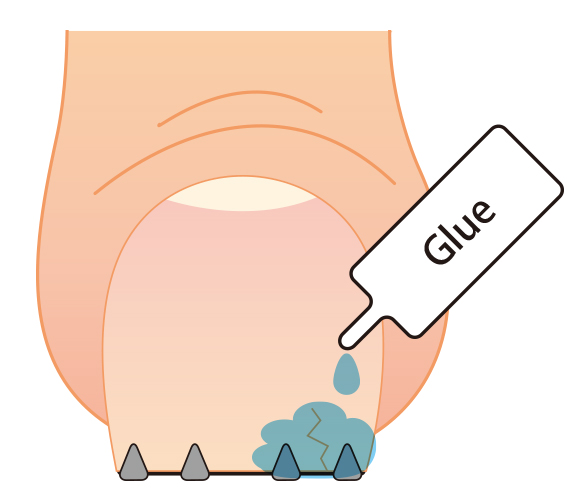
1. Slide the first clip on closest to the cracked edge of the nail.
2. Slide the second clip on the opposite side of the crack.
3. Apply super glue (cyanoacrylate) over the crack and the clips on either side. Wait until the glue is dry and hardened.
4-5. Slide and attach the third and fourth clips on in order.